Skincare layering is the only effective way to inject enough hydration and nutrients into the skin, and then lock them all in. Some may argue that all they do is splash some water morning and night, and they never had a problem with their skin. I don’t believe it. Time will tell the truth. It might be all right when you are in your teens, or twenties, but as you get older, your skin would never be as good as those who spend the time and effort every single day since their teens. And remember,
prevention is the secret to the fountain of youth.
Today I’ll share with you the 10 step Korean skincare routine that I have taken to effectively hydrate, brighten, treat, strengthen and protect my skin. I would only use these steps at nighttime, because it is during your sleep you skin relaxes, absorbs, repairs and regenerates. In the morning, a simple cleanser followed by a sunscreen would be sufficient.
Step 1: Oil Cleansing
This is the most important step of the skincare routine. Oil cleansing is the most effective and non-abrasive method to remove makeup, sunscreen and sebum build up. I would avoid anything like cleansing wipes or cleansing water that require a cotton pad to rub against your skin, they lead to wrinkles over time and can only take off what’s on the surface. Look for plant based cleansing oils instead of mineral oil based including palm oil, coconut oil, olive oil.
Recommended cleansing oil: Heimish All Clean Balm (A$24/120ml,
review),
Skin Food Black Sugar Perfect Cleansing Oil (A$22/200ml).
Step 2: Soap Cleansing
After removing the oil soluble make up and sebum, it is essential to “double cleanse” with a mild soap cleanser. This step removes any oil residues from Step 1, and properly cleanses the skin. I highly recommend using a cleansing tool such as the Clarisonic at this step to remove impurities in the pores. However, for dry and sensitive skins, keep this step short and simple by lathering some soap onto the face and massage for 5 seconds before rinsing it off. It is important to choose a cleanser that is slightly acidic, SLS-free, non-drying and cleanses well, to avoid stripping of the skin, and maintain the skin’s natural barrier.
Recommended cleanser: Sulwhasoo Herbal Soap (A$17/70g,
review),
SU:M 37 Miracle Rose Cleansing Stick (A$35/80g)
Step 3: Exfoliation/Acid Treatment
Exfoliation is an essential step that removes dead skin cells in order to allow the hydration and nutrients in the following steps to penetrate deeper into the skin layer. Without regular exfoliation, the dead skin cells continue to build up over time, blocking any skincare benefits you’re applying, and the skin feels rough, thick and clogged over time. However, be careful not to over-exfoliate. Over-exfoliation damages the skin’s natural barrier and makes the skin unnaturally thin, sensitive, and easily irritated. Choose an exfoliator that is effective yet mild.
Recommended exfoliator: Primera Mild Peeling ($39.8/150ml,
review)
Acid treatment is a type of chemical exfoliation that works to resurface the skin and break down sebum within the pores. Continual use of acid treatments would see clearer, smoother and brighter skins. For an acid treatment to be effective, it should contain sufficient percentage of an acid or the active ingredient. Due to its potency, it is not suitable for everyone, and shouldn’t be over-used. When incorporating acids into your skincare routine, start off with a small amount applied over the congested areas such as the nose, chin and T-zone only and start with 2 times a week. Only increase the frequency and area if you see the need to. Choose an acid that contains potent but safe amount of active ingredients, and without ingredients that would cancel out the effects.
Recommended acid treatment: Cosrx BHA Blackhead Power Liquid (A$24/100ml),
Cosrx AHA 7 Whitehead Power Liquid (A$21/100ml),
Cosrx One Step Pimple Pad (A$21.89/70pc)
Step 4: Essence
Essence is a skin saver. Ever since I’ve started using an essence, my skin has been so much more hydrated, plump and soft. The water-like texture of essence allows them to penetrate deep into the skin layer. To me, essence is a replacement for a toner, which has a similar consistency and absorption, but 100 times more nutrient and hydrating. If you would like to see some real improvements to your skin’s texture, plumpness and radiance, start incorporating an essence in your routine. Even better, start the “
7 skin method” with an essence.
Recommended essence: Primera Miracle Seed Essence (A$65/150ml),
Park Beauty Water (A$37/340ml),
SU:M 37 Secret Essence (A$120/100ml)
Step 5: Hydrating Serum
If you used the “
7 skin method” in the previous step, you can skip this step, because your skin would have been drenched with hydration. But if you can’t be bothered with the “
7 skin method”, adding a hydrating serum into your routine is essential. Hydration is the key to many skin concerns including oiliness, dryness, roughness, wrinkles, acne, irritations, etc, you name it. Properly hydrated skin are stronger and able to naturally resist environmental damages and bacteria growth. Hydration not only improves the texture and elasticity of the skin, but also the water-oil balance of the skin, which is the key to healthy, strong and radiant skin. Choose a light weight but effective hydrating serum. If your serum is heavy in hyaluronic acid, which is quite dense and thick, you should use it after a lighter weight whitening serum.
Recommended hydrating serum: Innisfree Green Tea Seed Serum (A$30.9/80ml,
review),
Innisfree Eco Science Serum (A$37.5/50ml)
Step 6: Whitening Serum
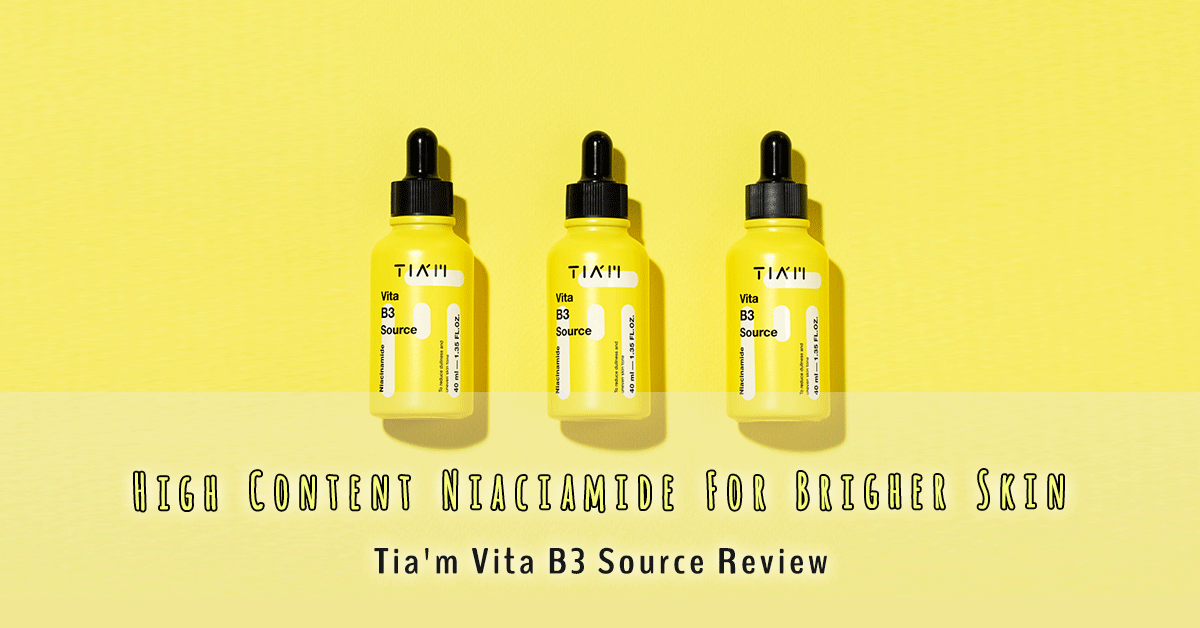
Whitening serum is another secret to radiant and youthful skin. They are usually priced higher than hydrating serums due to the inclusion of more premium ingredients. Continual use of an effective whitening serum would see improvements in the skin tone, gradual fading of acne scars and hyper-pigmentation. It will also achieve a higher “transparency” for the skin, which are the natural glows on high points of the cheeks. When choosing a whitening serum, look for active ingredients such as niacinamide, arbutin, licorice root extract and pearl. One thing to note is that a lot of “tone up” creams in the K-beauty market uses an ingredient called titanium dioxide which gives the appearance of a brighter toned skin instantly, but this is more of a sunscreen like white cast, which has nothing to do with improving the skin.
Recommended whitening serum: The History of Whoo Whitening Serum
Step 7: Spot Treatment
Spot treatments are more concentrated treatments targeting at one specific area on the skin. It is not a step that everyone needs in their skincare routine. But if you are concerned with acne or dark spots, using a spot treatment would effectively treat those areas of concern and leave the rest of your face to only the treatments they need.
Recommended spot treatment: Cosrx Acne Pimple Master Patch (A$4.99/sheet of 24 pc),
Medicube Centella Scar Ointment (A$35/15g)
Step 8: Eye Cream
Eye cream is definitely a must in any skincare routine. It cannot be replaced by your face cream. Choose an eye cream that is dense, creamy, and contains effective anti-aging ingredients. Watery eye creams are simply not hydrating and protective enough for the eye area, you could use an “eye essence” prior to an “eye cream” for added anti-aging benefits. Fine lines and wrinkles are the most difficult (almost impossible) to reverse, therefore, start using an eye cream as early as possible.
Recommended eye cream: Belif Peat Miracle Revital Eye Cream (A$68/25ml),
Innisfree Eco Science Eye Cream (A$36.9/30ml)
Step 9: Moisturiser/Cream
The function of a moisturiser is to add a final layer of moisturisation on top of the skin and seal in everything that has applied in previous steps. When choosing a moisturiser, it’s important to consider the skin’s condition and the environment. In summer, choose a light weight gel type moisturiser to avoid suffocating the skin and adding more sebum production. But in winter, choose a thicker cream type moisturiser to better protect the skin and slow down the moisture loss from the skin to the environment.
Recommended moisturiser/cream: Belif The True Cream Aqua Bomb/
Moisturizing Bomb (A$52/50ml),
Primera Alpine Berry Watery Cream (A$45/50ml),
Step 10: Sleeping Mask
Sleeping mask is the most effective step to seal in all the goodness applied and prevents the loss of moisture overnight. Although some moisturisers have the similar formula as sleeping masks and can be doubled as a sleeping mask, dedicated sleeping masks usually perform better. As mentioned above, it is in your sleep that your skin repairs and regenerates. Your body temperature rises during this time, and moisture is slowly lost from the skin. Using a sleeping mask, provides a protective layer on top of the skin and retains the hydration for longer. Hydrated skin allows the skin to repair faster and become stronger at resisting external damages and bacteria. Incorporate this into your skincare routine 2-3 times a week, your skin will thank you.
Recommended sleeping mask: Too Cool For School Pumpkin Sleeping Pack (A$19.99/100ml),
Cosrx Ultimate Nourishing Rice Overnight Spa Mask (A$20/60g)
Step 11: Neck Cream
I’ve sneaked in this one because it is EXTREMELY IMPORTANT that you take care of your neck area as early as possible. Whether simply bring your skincare steps down the neck or use a separate neck cream, all it needs is some moisturising at the early stage.
Recommended neck cream: Innisfree Soybean Energy Neck Cream (A$24.8/80ml)
So that’s it, the 10-step Korean skincare. Do I personally use these many steps in my routine? Yes, at least majority of it. I love spending some time to take care of my skin everyday, and see it being soft, plump and moist. Give some of these steps a go, you might be addicted to skincare layering too.


